
Table of Contents
- Before You Return: Check Your Return Eligibility
- How to Initiate Your Return Online
- How to Print a Return Shipping Label
- Returning Items Without Original Packaging
- In-Store Drop-Off vs. Mail-In Returns
- How Long Does It Take to Get a Refund
- Handling Damaged or Defective Items
- Common Return Mistakes to Avoid
Last Updated: August 30, 2026
Returning online purchases shouldn't feel like navigating a maze. Yet many shoppers find themselves confused about eligibility windows, unsure where to drop off packages, or frustrated waiting for refunds. This guide breaks down how to return online purchases step-by-step, covering everything from checking your eligibility to tracking your refund status. Whether you're returning something from Trending Now Co. or another retailer, these fundamentals apply across most platforms.
Before You Return: Check Your Return Eligibility
Your return window is the first thing to verify. Most retailers offer a standard 30-day return window from the purchase date, though some extend to 60 or 90 days (the FTC). Check your order confirmation email or your account's purchase history to confirm the exact date you bought the item.
Beyond timing, eligibility depends on condition. Items must typically be unused, unwashed, and in original packaging to qualify for a full refund (the FTC). However, items that show signs of wear, have been used, or are missing original components often face restocking fees or ineligibility.
Some product categories have stricter rules. Clearance items, final-sale merchandise, and personalized or custom products frequently cannot be returned at all. Check the product page or your order details for any "non-returnable" flags. Items purchased with store credit may only be eligible for store credit refunds, not cash refunds back to your original payment method.
Damaged or defective merchandise has different rules. Items that arrived broken or malfunctioning often have extended return windows or don't count against your return limit, depending on the retailer's policy. If your item arrived damaged, document it with photos before opening anything else in the box.
How to Initiate Your Return Online
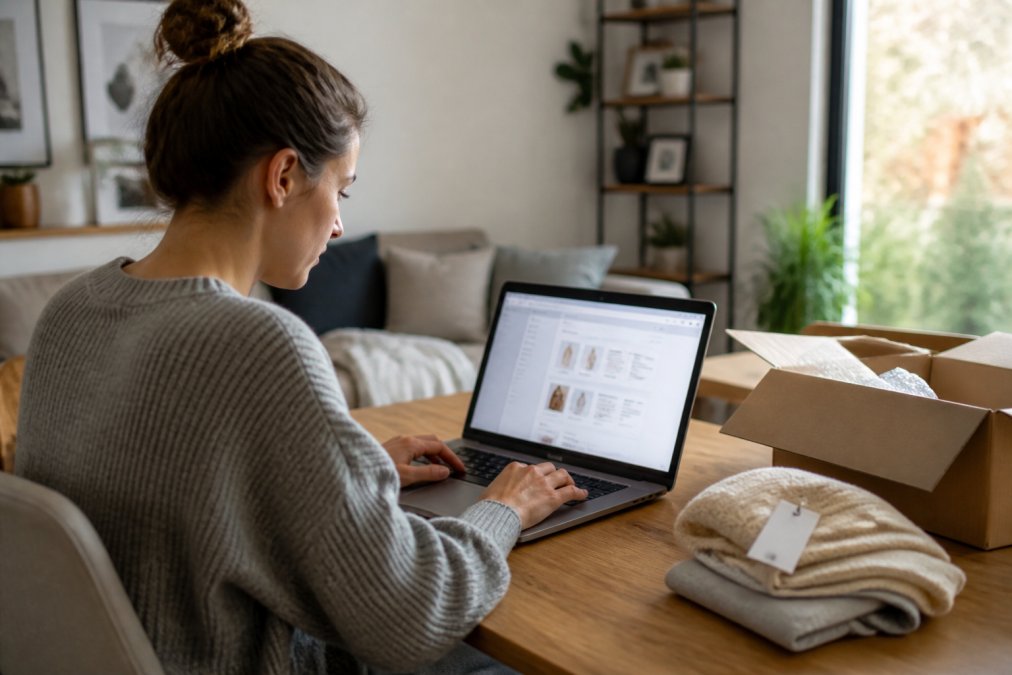
Starting a return is straightforward once you know where to look. Log into your account on the retailer's website or app and navigate to your order history. This is where you'll find every transaction linked to your account, along with their status and return eligibility.
Step 1: Locate Your Order Confirmation
Find the specific order you want to return. Most accounts display orders chronologically, with the most recent at the top. Click on the order to open its details. This view shows everything: items purchased, quantities, prices paid, shipping address, and delivery status. Some retailers also display a "Return" or "Start Return" button directly on this screen if the item is eligible.
If you can't find your order in your account, check your email for the original order confirmation, which typically contains a link to your order details or a reference number you can use to search.
Step 2: Access Your Return Portal
Click the return option for the item you want to send back. This opens your retailer's return portal or return authorization system. The portal walks you through selecting which items to return, choosing a reason for the return, and confirming your return address. Some retailers call this a "return merchandise authorization" or RMA number, this is your proof that the return was initiated and approved.
The portal typically asks you to select a reason: item doesn't fit, wrong color, defective, changed mind, or similar categories. Be honest here; selecting "defective" may trigger different handling than "changed mind," and defective items sometimes bypass restocking fees.
Step 3: Select Items and Reason for Return
Review the items you're returning and confirm the quantities. If you ordered a set of three items but only want to return one, the portal lets you specify that. Make sure the items listed match what you actually plan to send back; mismatches can delay refunds or trigger return rejection.
After selecting items and reason, the portal generates your return shipping label and next steps. Some retailers offer multiple return options: prepaid shipping label, in-store drop-off, or carrier pickup.
How to Print a Return Shipping Label
Your return shipping label is critical. This barcode tells the carrier and the retailer where your package is going and links it to your return authorization. Without it, your return package becomes untracked and may never reach the returns processing center.
Getting Your Prepaid Label
After you've submitted your return request in the return portal, the system generates a prepaid shipping label. This label is usually available immediately as a PDF download or printable page. Download or take a screenshot of the label right away; don't rely on finding it later.
The label shows the return address, your return authorization number, and a barcode. The barcode connects your physical return to your digital return request, which is why accuracy matters. Prepaid labels mean you don't pay for return shipping, the retailer covers the cost.
Printing and Applying Your Label
Print the label on standard 8.5" x 11" white paper using a regular printer. The barcode must be clear and legible; if it's smudged or faded, the carrier's scanner may not read it. Affix the label to the outside of your return package using clear tape on the largest, flattest side. Make sure the barcode isn't folded, creased, or obscured by tape.
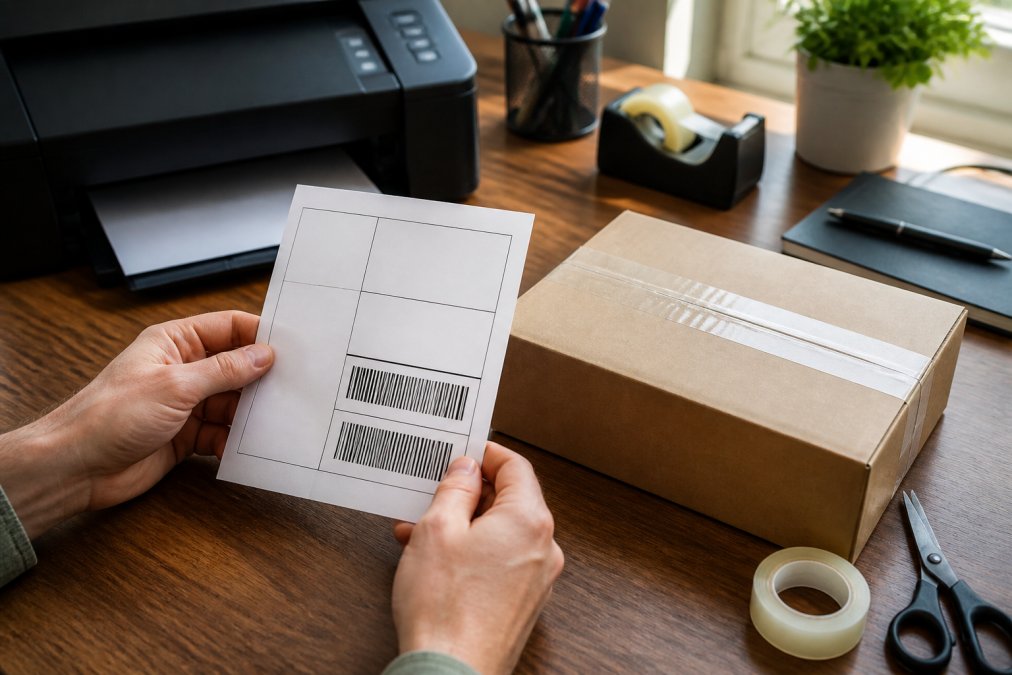
If you're using a carrier pickup service, the driver will scan this label when they collect your package. If you're dropping off at a location, the staff will scan it when you hand it over. Keep your receipt or confirmation number from the pickup or drop-off as proof you returned the item on time.
Returning Items Without Original Packaging
Original packaging isn't always available, and that shouldn't disqualify your return. Many retailers accept returns in alternative packaging as long as the item itself is protected and arrives in good condition. Use any sturdy box or padded mailer that fits the item. Wrap the item in bubble wrap or packing paper to cushion it, and fill empty space with packing peanuts or crumpled paper so the item doesn't shift during shipping.
Some retailers are stricter about original packaging for high-value items or electronics. If you're unsure, contact customer support before shipping. Include all components that came with the item, even if you don't have the original packaging. Missing components can result in a partial refund or return rejection.
In-Store Drop-Off vs. Mail-In Returns
Your return method affects how quickly your package reaches the returns center and how easily you can track it.
Using In-Store Drop-Off Locations
Many major retailers accept returns at their physical locations, even if you bought the item online. You simply print your return label, pack your item, and hand it to a staff member at the customer service desk. In-store drop-off is faster than mail-in returns because the package enters the retailer's system the same day. You get a receipt confirming the drop-off, which serves as proof that you returned the item on time.
The downside: in-store drop-off only works if a physical location participates in the returns program. Check your return portal to see if in-store drop-off is available for your specific item and location.
Mailing Your Return Package
Mail-in returns offer flexibility; you can ship from anywhere and don't need to visit a store. Use your prepaid label and drop off the package at any carrier location. The carrier scans your label, and your return enters the system.
Mail-in returns take longer because of shipping transit time. A package typically takes 3-7 business days to reach the returns center, depending on distance and carrier. Request tracking when you drop off your package. The carrier provides a tracking number that lets you monitor your package's journey and serves as proof that the package was shipped.
How Long Does It Take to Get a Refund
Refund timing depends on multiple factors: when the returns center receives your package, how long processing takes, and your refund method.
Refund Processing Timeline
The clock for refund processing starts when the returns center receives and inspects your package, not when you initiate the return or drop it off for shipping. Once received, the returns center inspects the item to confirm it matches your return authorization, is in eligible condition, and has all components. This inspection typically takes 1-3 business days.
After approval, the refund is issued. The time it takes to appear in your account depends on your refund method. Refunds to credit or debit cards typically appear within 3-5 business days (the FTC). Store credit refunds appear almost instantly, usually within 24 hours.
Total timeline: 7-14 business days from drop-off to refund appearance is typical. If you mailed your return and it took a week to arrive, add that to the timeline.
Tracking Your Refund Status
Most retailers provide a way to check your return status within your account. Log in, find the return, and look for a status indicator: "In Transit," "Received," "Processing," "Approved," or "Refunded." This status updates as your return moves through the system.
If your return shows "Received" but hasn't moved to "Processing" after 5 business days, contact customer support. Once your refund is approved and issued, the status changes to "Refunded." Check your bank or payment account for the incoming deposit. If 5 business days pass after the status shows "Refunded" and you still don't see the money, contact your bank or payment provider.
Handling Damaged or Defective Items
Damaged or defective merchandise has a different return path. If your item arrived broken or stopped working shortly after arrival, you have stronger protections than standard returns.
Document the damage immediately with clear photos showing the packaging damage, the item damage, and any defects. Contact customer support rather than using the standard return portal. Most retailers offer expedited handling for damaged merchandise; they may issue a replacement immediately without waiting for the return to arrive, or they may approve a refund without requiring you to return the item.
If you're required to return a damaged item, the return window is often extended beyond the standard 30 days. Keep all communication with customer support documenting the defect.
Common Return Mistakes to Avoid
Small errors compound into delayed refunds and frustration.
Shipping to the wrong address. Always verify that your return label shows the correct returns center address. Double-check before sealing your package.
Forgetting to include the return authorization number. Write or print your return authorization number on the outside of the package. If the label peels off, the number helps the returns center identify your return.
Returning items past the return window. The return window is based on the purchase date, not when you initiate the return. You must initiate the return by the deadline, not receive it back by then.
Mixing items from different orders. Use separate packages and labels for each order to avoid confusion.
Not keeping proof of shipment. Save your tracking number and drop-off receipt. Without proof, you have no recourse if the retailer claims they never received it.
Assuming your return is received without checking status. Track your return through the system. Don't assume it arrived just because several days have passed.
Returning items without secure packaging. A box that falls apart in transit or an item that arrives damaged due to poor packing may be rejected.
Not reading the return policy before buying. Some items have restocking fees, extended return windows, or special handling requirements. Knowing these upfront prevents surprises.
Returning online purchases is straightforward once you understand the process. From initiating your return through tracking your refund, each step has a clear purpose and timeline. The key is staying organized: keep your order confirmation, print your label immediately, pack securely, and track your return through the system.
At Trending Now Co., we've designed our return process to be as simple as possible because we know returns happen, and when they do, you shouldn't be left wondering what's next. Shop with confidence knowing that if something doesn't work out, the return process is straightforward and transparent.
Frequently Asked Questions
How do I return an item without a return label?
Contact customer support to request a replacement prepaid label or a return authorization number. Many retailers allow you to print a new label from your return portal if the original was lost. If neither option works, you can sometimes purchase return shipping yourself and request a refund for the cost once your return is processed. Always keep documentation of any out-of-pocket shipping expenses for your records.
How long does it take to get a refund after I return my item?
Most refunds process within 5-10 business days after the retailer receives and inspects your return package. However, timelines vary by retailer and refund method. Store credit typically appears faster than original payment method refunds. Track your return using the tracking number provided with your shipping label to know when it arrives, then monitor your refund status through your account or contact customer support for updates.
Can I return items without the original packaging?
Yes, most retailers accept returns in reusable packaging or boxes, though original packaging is preferred. Ensure items are clean, undamaged, and secure in your return package. Include all original components and documentation when possible. Avoid using damaged or heavily taped boxes that could trigger package inspection holds. If you're unsure whether your packaging meets requirements, contact customer support before dropping off your return.
Who pays for return shipping?
Most major retailers provide prepaid return shipping labels at no cost to you. However, some items, particularly heavy furniture or hazardous goods, may require you to cover return shipping costs. Check your return authorization details before shipping. If you're charged a restocking fee, it typically appears in your final refund amount. Always review the return policy terms for your specific purchase to understand any applicable fees.
This article was written using GrandRanker